HOW TO INSTALL NYLON CABLE GLANDS
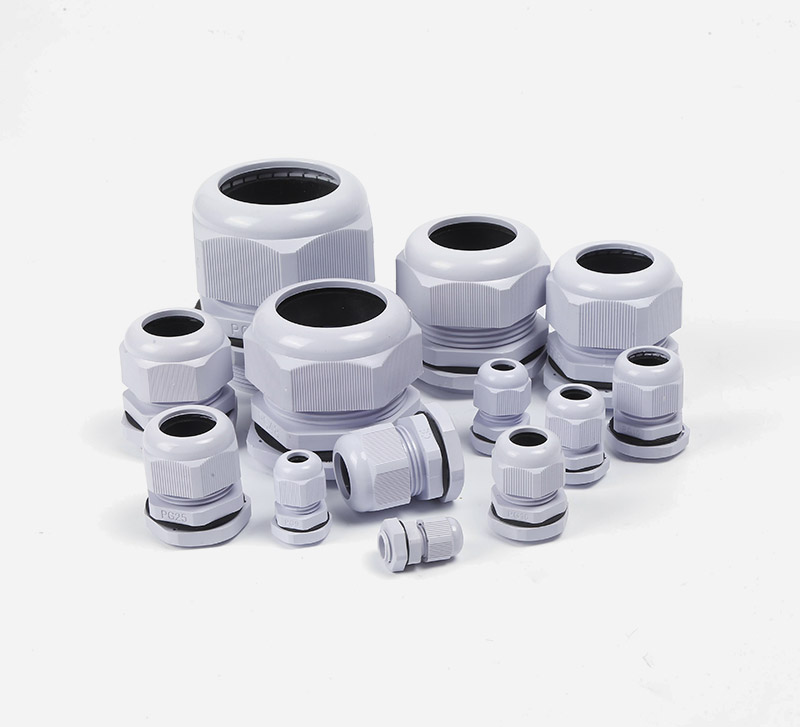
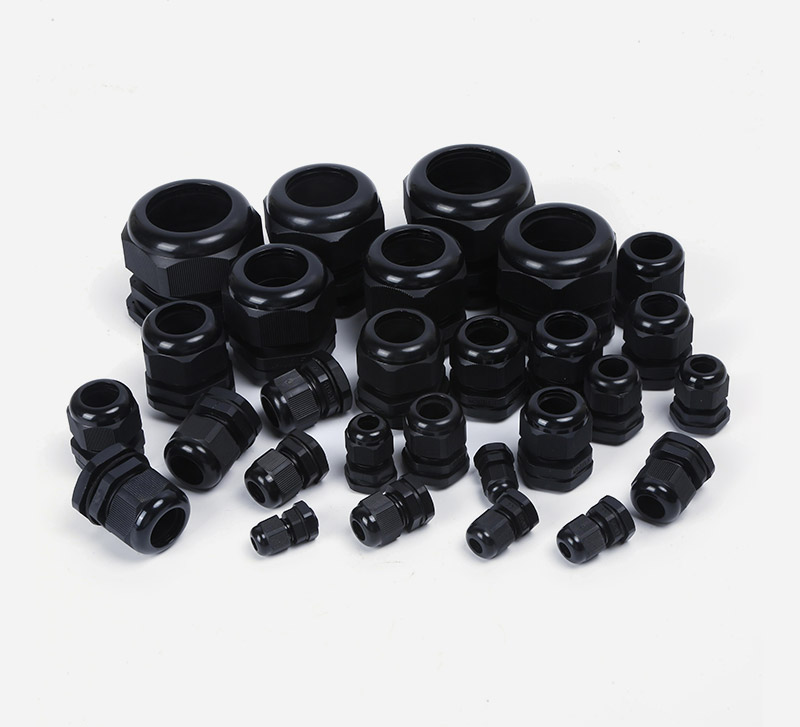
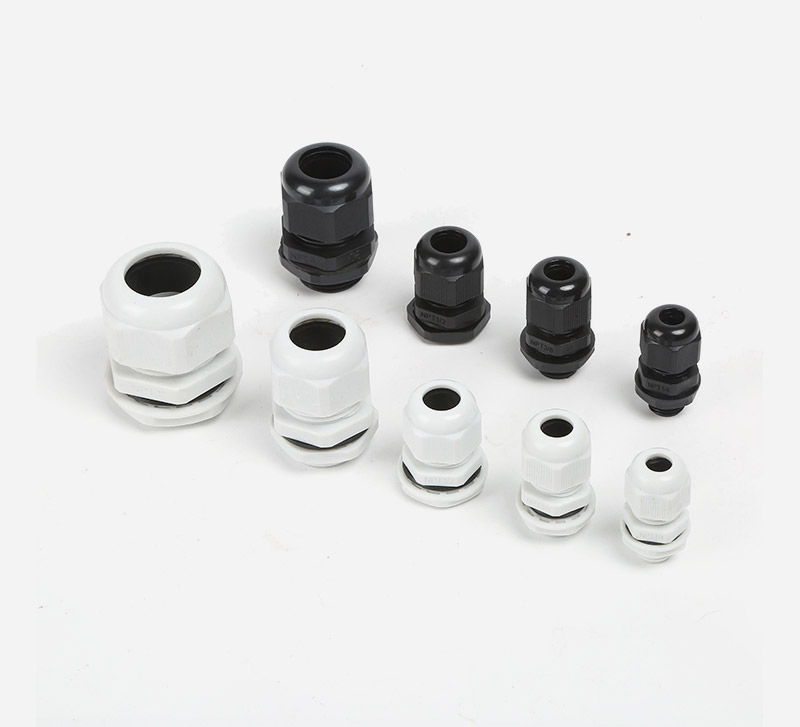
As we all know, in the field of manufacturing cable gland, we can use various kinds of material to produce cable glands, such as nylon(PA), PP, nickel plated brass, stainless steel 304, stainless steel 316, aluminum. Therefore, different material contributes to different performance. For example, PP material is nontoxic, so it is a kind of environment-friendly material, which is also the cost-effective material. PA material perform a better corrosion resistance, so it will be more suitable in the outdoor or some extreme environment, while metal material can be used in all environment with the best quality. So the installation methods are also different.
This time we’d like to tell you how to install a plastic cable gland, or to be called nylon cable gland. First of all, learn the components of a cable glands. a whole nylon cable gland is make up with many components, the nut cap, the sealing, the body, the gasket, and the nut. Some cable gland is without the gasket, but the gasket contributes to the IP68 waterproof level. Okay, after we learned about what make up a cable gland, it would be easier to install a nylon cable glands. Secondly, prepare the tools. We need a nylon cable gland, a wire(or a cable), a plastic junction box and a vernier caliper( or a rule, but a ruler may not be as precise as a vernier caliper). Third, measure the diameter of the cable and the hole of the cable gland, to confirm if the cable can pass to the hole of the cable. For example, if the cable gland you chose is M16, which can pass the range of 4~8mm cable , so the cable must be 4~8mm, or the cable gland can’t tight the cable. Forth, confirm the hole of the plastic junction box if suit the hole of the cable gland. Then, pass the thread of the body to the hole of the box. Attention not lose the gasket. Next, Pass the cable to the body. Finally, install the nut cap.
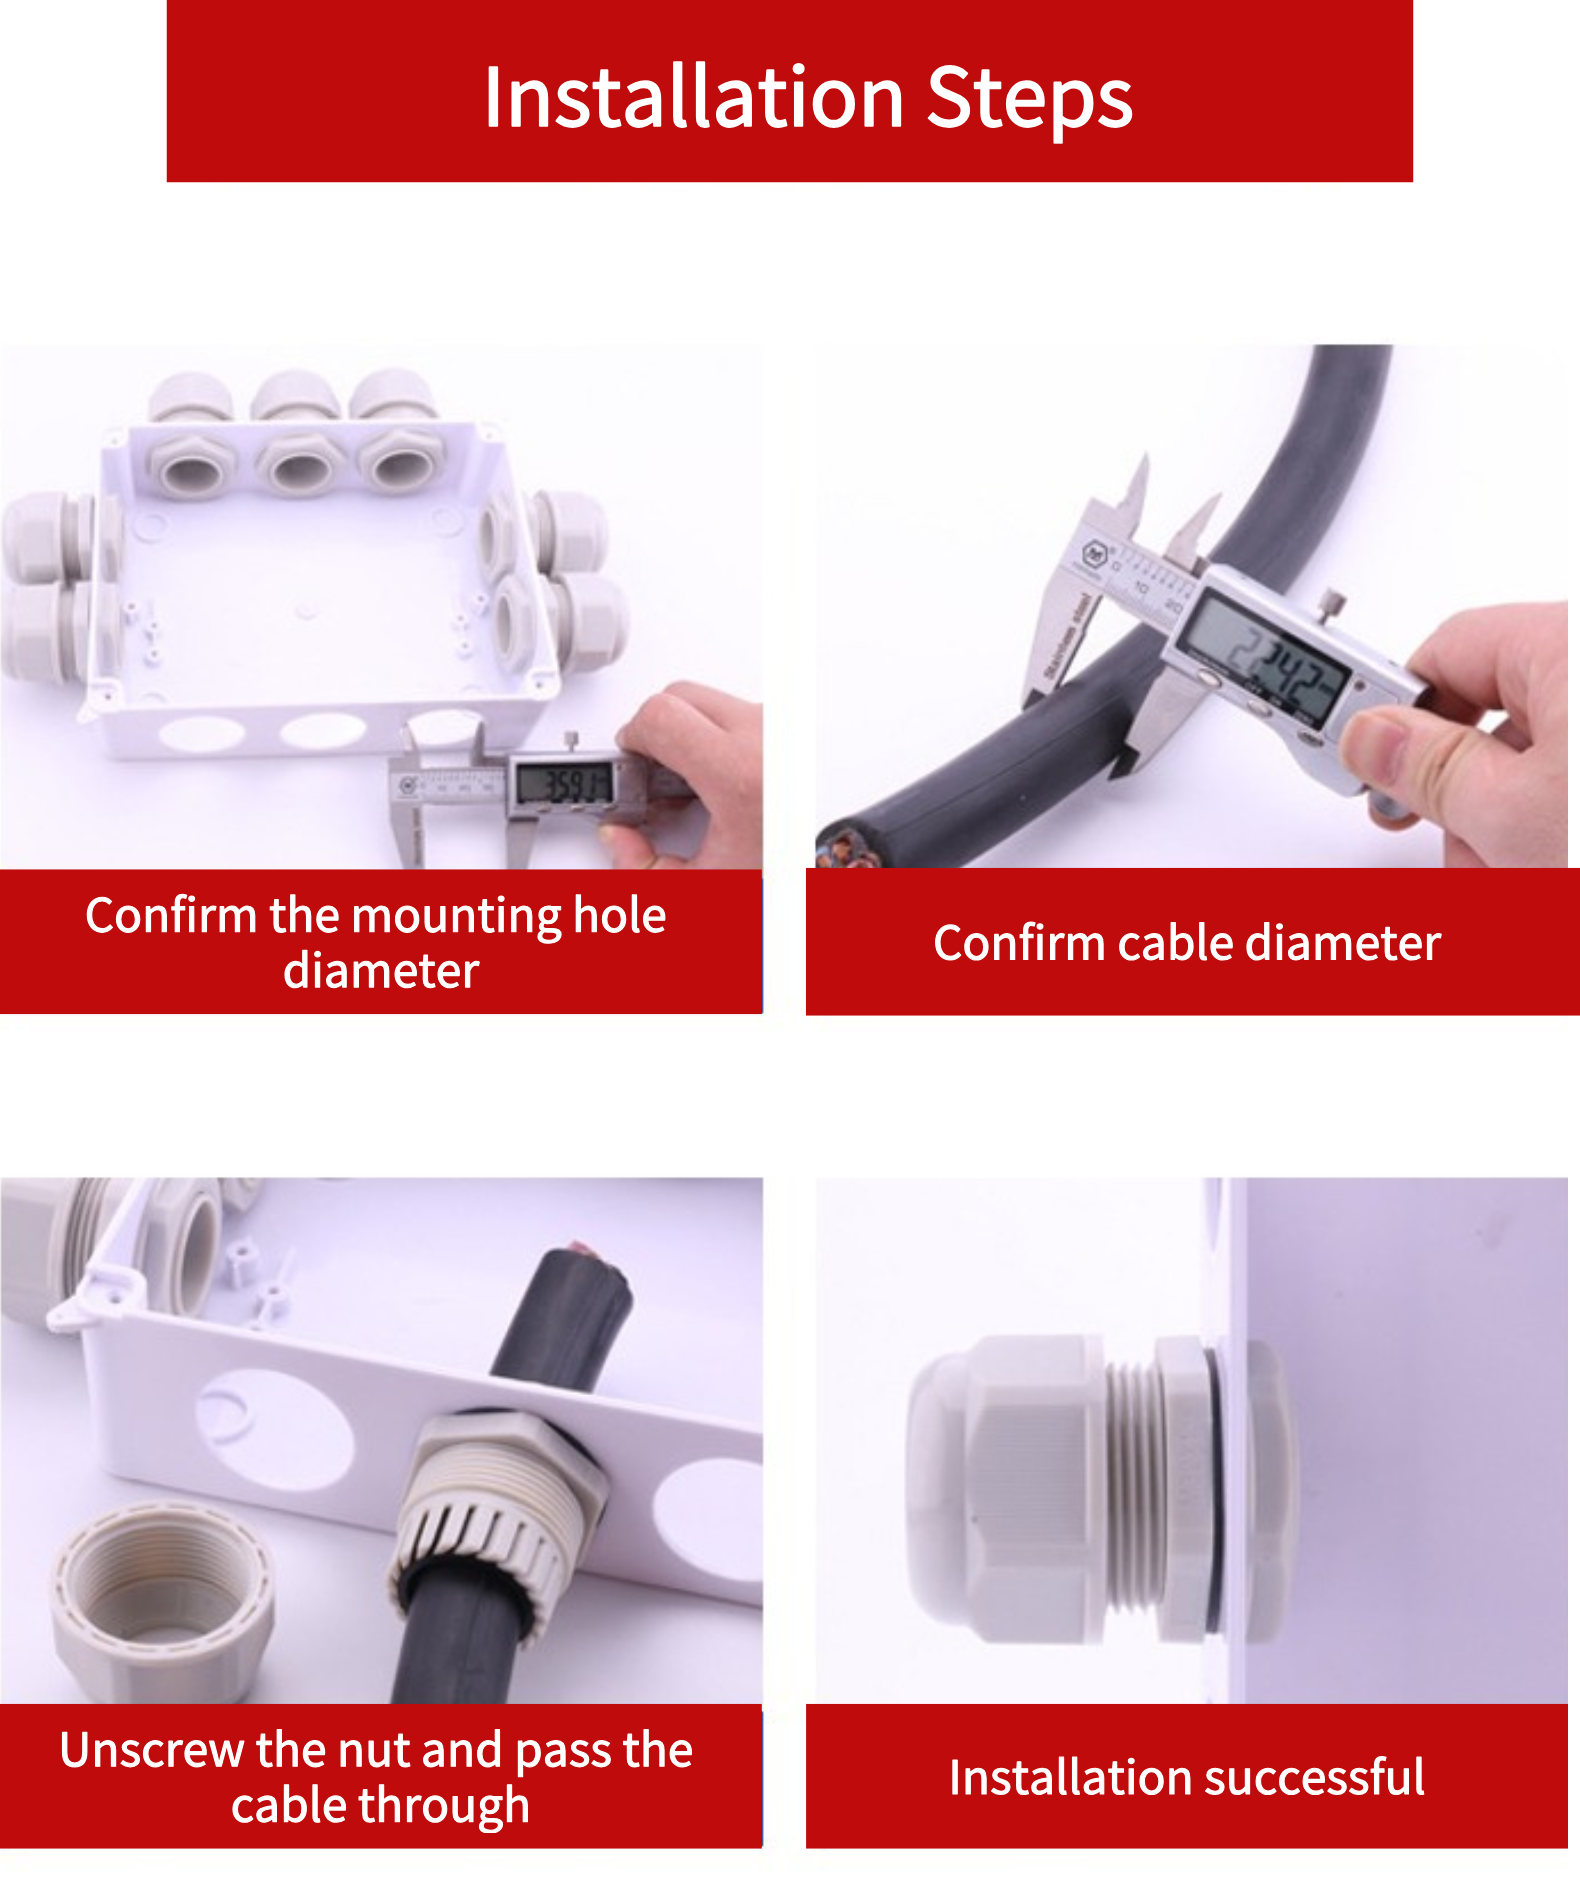
All the thing are finished, and the safety of the cable and yours are ready!