How to Install Nylon Cable Glands Correctly
Installing nylon cable glands correctly is crucial for ensuring the safety and proper functioning of electrical systems. Incorrect installation can lead to issues such as cable damage, poor electrical connections, and compromised protection against environmental factors. Here is a comprehensive guide on the proper installation process.
1. Preparation
1.1 Select the Right Cable Gland
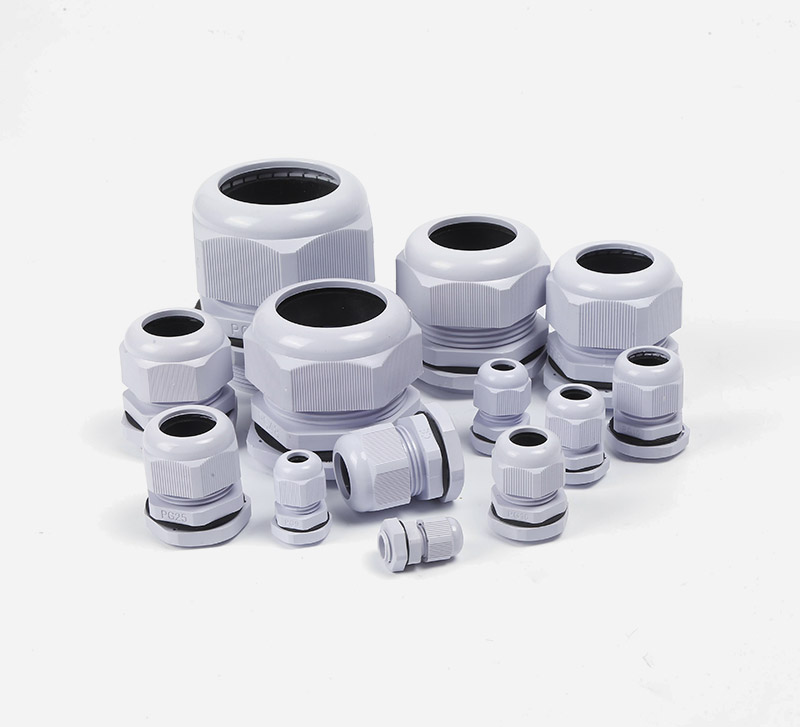
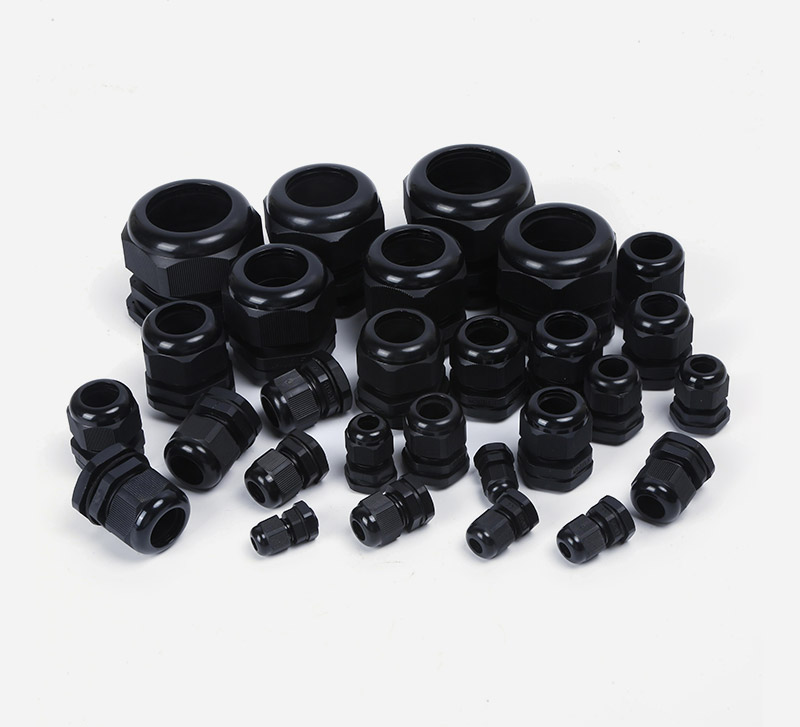
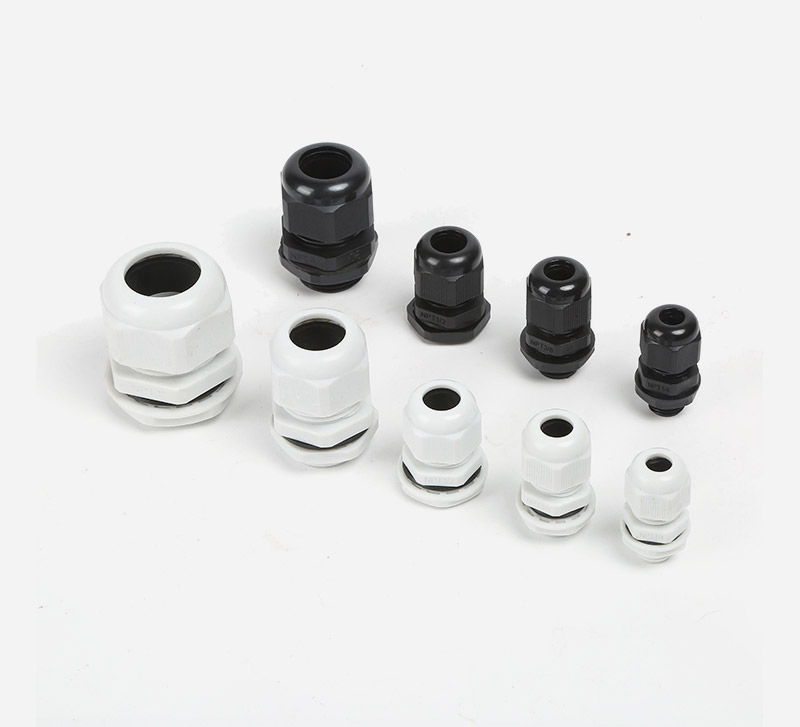
First and foremost, choose a nylon cable gland that is suitable for your specific application. Consider the diameter of the cable you will be using. The gland should have an inner diameter that closely matches the outer diameter of the cable. If the gland is too large, it won't provide a proper seal, and if it's too small, it may damage the cable during installation. Also, take into account the environmental conditions. For example, if the installation is in a wet area, select a waterproof - rated nylon cable gland.
1.2 Gather Tools
You will need a few basic tools for the installation. A pair of wire cutters or a cable stripper is necessary to prepare the cable ends. A screwdriver or a wrench, depending on the type of gland (some have screw - on nuts, while others may require a wrench for tightening), is also essential. Additionally, having a measuring tape or calipers to accurately measure the cable diameter can be helpful.
1.3 Prepare the Cable
Using the wire cutters or cable stripper, cut the cable to the appropriate length. Then, carefully strip the outer insulation of the cable, leaving a sufficient length of the inner conductors exposed. The length of the stripped section should be in line with the requirements of the cable gland. Be cautious not to damage the inner conductors during the stripping process.
2. Installation Process
2.1 Insert the Cable
Insert the prepared cable through the body of the nylon cable gland. Make sure the cable is centered within the gland. Some cable glands have a tapered or stepped - inner design to help guide the cable and ensure a proper fit. If the gland has a locking mechanism, keep it in the open position during this step.
2.2 Secure the Gland
For cable glands with a nut - and - bolt mechanism, place the nut over the cable and then thread it onto the gland body. Start tightening the nut gradually. Use a screwdriver or wrench to apply even pressure. As you tighten, the inner components of the gland, such as the sealing ring and the clamping elements, will start to engage with the cable. If the gland has a compression - style fitting, follow the manufacturer's instructions to properly compress the gland onto the cable. This may involve using a specific tool to apply the correct amount of pressure.
2.3 Adjust the Tightness
It's important to achieve the right level of tightness. Over - tightening can damage the cable, causing the outer insulation to crack or the inner conductors to be pinched. Under - tightening, on the other hand, will result in a poor seal and ineffective cable retention. As a general rule, tighten the gland until the sealing ring is compressed evenly around the cable and the cable is held firmly in place. You can test the tightness by gently tugging on the cable; it should not move freely.
3. Post - Installation Checks
3.1 Visual Inspection
After installation, conduct a visual inspection. Check that the cable is properly centered within the gland and that there are no visible signs of damage to the cable or the gland. Look for any gaps or misalignments in the gland components. The sealing ring should be fully compressed and in contact with the cable all around.
3.2 Functionality Check
If possible, perform a functionality check. For example, if the cable is part of an electrical circuit, power on the system and check for any electrical malfunctions. Ensure that there are no short - circuits or open - circuits. In applications where the cable gland is used to protect against environmental factors, such as water or dust, you can perform a simple test to check the integrity of the seal. For a waterproof gland, you can briefly submerge the installation in water (if it's safe to do so) and check for any signs of water ingress.
By following these steps carefully, you can ensure that your nylon cable glands are installed correctly, providing reliable protection and performance for your electrical systems.