How to Place Jumper Cables
Placing jumper cables correctly is a crucial skill for any vehicle owner, as it can be a lifesaver when your car battery dies. Here's a step - by - step guide to ensure you do it safely and effectively.

Ⅰ.Preparation
Before starting, make sure you have a set of high - quality jumper cables. These cables should be thick enough to carry the necessary electrical current. It's also important to check the condition of the cables; look for any signs of fraying or exposed wires. If you notice any damage, it's best to replace the cables.
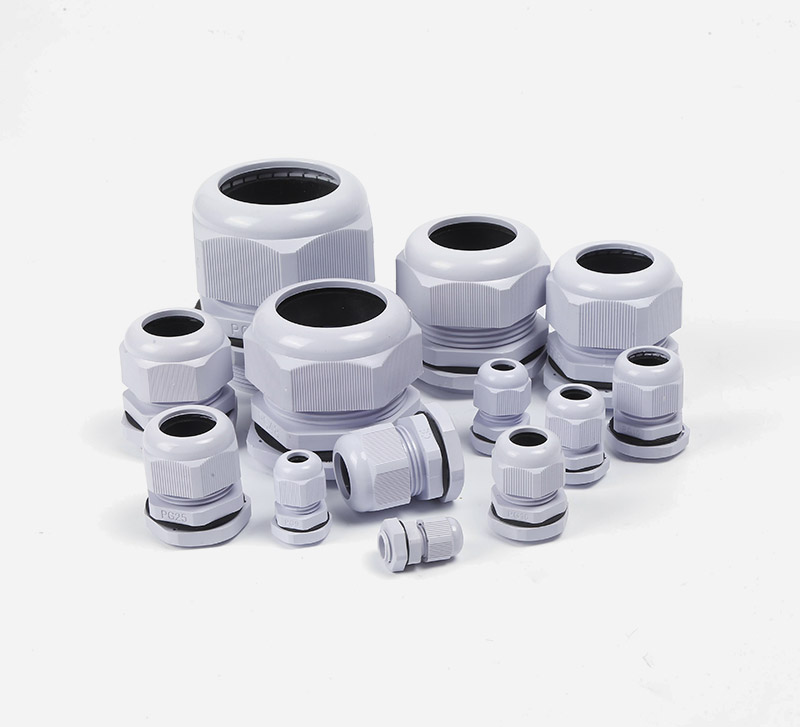
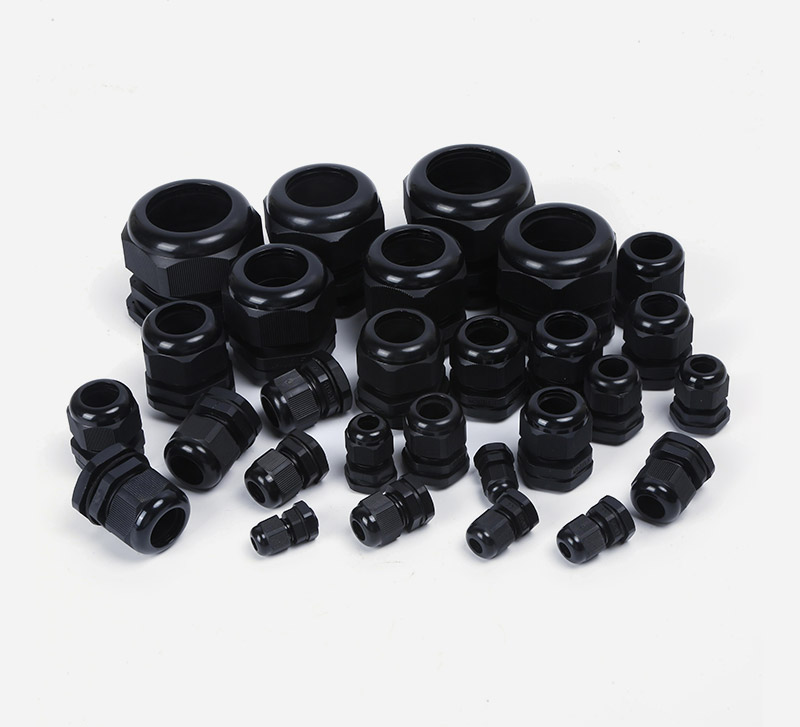
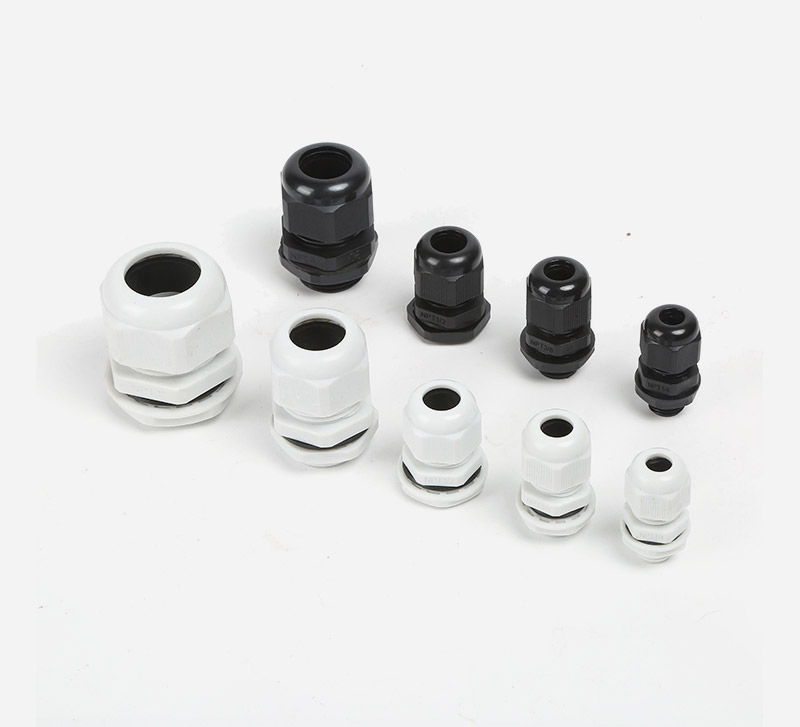
When it comes to ensuring the long - term reliability of your electrical connections, especially in harsh environments, Stainless Steel Cable Glands can be extremely useful. These glands are designed to provide a secure and weather - resistant connection for cables. For example, if you plan to use your jumper cables in a coastal area where there is high humidity and salt in the air, using Stainless Steel Cable Glands to protect the cable connections can prevent corrosion and ensure the cables function properly over time.
Ⅱ.Step - by - Step Placement
⒈Park the vehicles correctly: Park the donor vehicle (the one with the good battery) close enough to the vehicle with the dead battery so that the jumper cables can reach between the two batteries. Make sure both vehicles are turned off, and the parking brakes are engaged.
⒉Locate the batteries: Open the hoods of both vehicles and find the batteries. In most cars, the battery is located in the engine compartment, but in some models, it may be in the trunk or under a seat.
⒊Connect the positive (red) cable: First, take the red jumper cable and connect one end to the positive terminal of the dead battery. The positive terminal is usually marked with a “+” sign. Then, connect the other end of the red cable to the positive terminal of the donor battery.
⒋Connect the negative (black) cable: Next, take the black jumper cable. Connect one end to the negative terminal of the donor battery (marked with a “ - ” sign). For the other end of the black cable, instead of connecting it directly to the negative terminal of the dead battery, it's better to connect it to a metal part of the vehicle with the dead battery that is away from the battery, such as an unpainted bolt or a metal bracket. This helps to prevent sparks from igniting any hydrogen gas that may be present near the battery.
⒌Check the connections: Before attempting to start the vehicle with the dead battery, visually inspect all the connections. Ensure that the cable clamps are tightly secured to the battery terminals or the metal part of the vehicle. If you are using Stainless Steel Cable Glands, make sure they are properly installed and tightened around the cables at the connection points. This provides an extra layer of protection and stability for the connections.
Ⅲ.After - use and Storage
Once you have successfully started the vehicle with the dead battery, let it run for a few minutes to allow the battery to charge. Then, carefully disconnect the jumper cables in the reverse order of how you connected them. First, disconnect the black cable from the metal part of the vehicle with the dead battery and then from the negative terminal of the donor battery. Next, disconnect the red cable from the positive terminal of the donor battery and then from the positive terminal of the dead battery.
After use, store the jumper cables in a dry place. If you need to purchase new jumper cables or Stainless Steel Cable Glands, you can find a wide range of electrical products at various suppliers. One such location is at No.620 - 2, Chezhan Road, Liushi Town, Yueqing City, Wenzhou City, Zhejiang Province. This area is known for its electrical manufacturing industry, and you may be able to find high - quality products from local manufacturers or distributors.
By following these steps, you can safely and effectively place jumper cables, and also ensure the durability of your cable connections with the help of Stainless Steel Cable Glands.